Providing OEM, Wholesale and Retail Services Worldwide. Toll Free : 1-800-717-5818 (U.S. )

How to Use and Read Digital Micrometers Correctly?
1. Preparation
2. Taking the measurement
3. How to read the digital micrometer correctly?
4. Maintenance instructions
Digital micrometers are used to measure the length, diameter, or thickness dimensions. A digital micrometer consists of the frame, anvil, spindle, lock nut, sleeve, sleeve numbers, sleeve long line, thimble marks, thimble, and ratchet stop, LCD display, data output port, mm/in conversion key, and the ON/OFF ZERO key. Digital micrometers are available in a large amount of different sizes. Usually, there is the 0-to-25-mm (0-to1-inch), 25-to-50-mm (1-to 2-inch), 50-to-75-mm (2-to 3-inch), and 75-to-100-mm (3-to 4- inch) micrometers.
Below are the proper procedures for using a 0-to-25-mm (0-to1-inch) digital outside micrometer right:
1. Preparation
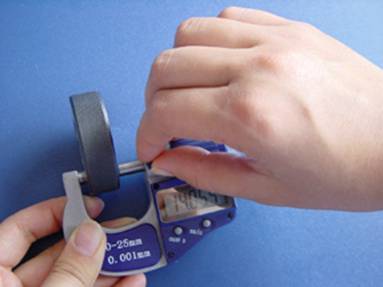
Step1: Dry and clean the measuring surface of the item to be measured with clean cloth (or soaked with cleaning oil);
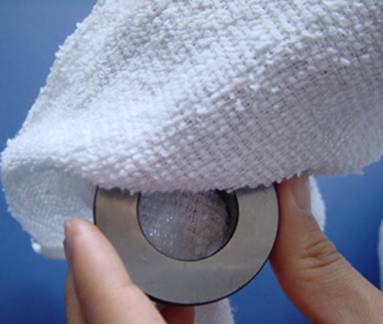
Step2: Dry and clean the cover of the digital outside micrometer with clean cloth (or soaked with cleaning oil);
Step3: Dry and clean the measuring surface of the anvil of the digital outside micrometer with clean cloth (or soaked with cleaning oil).
Step4: Dry and clean the measuring surface of the spindle of the digital outside micrometer with clean cloth (or soaked with cleaning oil).
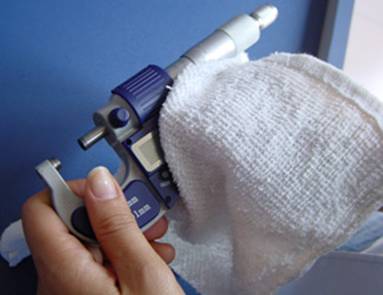
Step5: Fully close the digital outside micrometer gently.
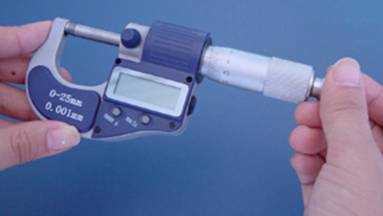
Step6: Turn the thimble to make sure the 0 line align with the centre long line on the sleeve completely.

If you use the 25-to-50-mm, 50-to-75-mm or micrometers with larger range, you would need to use the corresponding calibrated rod to calibrate them before measuring. For example, you need to use the 25mm calibrated rod to calibrate the 25-to-50-mm digital outside micrometer.

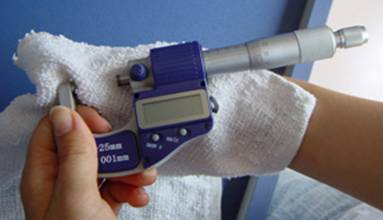
Step7: Turn on the ON/OFF button of the digital outside micrometer. If it reads 0 and you can begin to take the measurement. If it doesn’t read 0, adjust the thimble and the ratchet stop until it reads o.
Step8: Turn on the mm/in button of the digital outside micrometer and then choose the desired unit system as you like. (Here we choose the mm version.)
2. Taking the measurement
At any time, do not touch the measuring surface of both the micrometer and the item with your hands, because the sweat on your hands will cause inaccuracy to the measurement. You have to keep them dry and clean all the time.
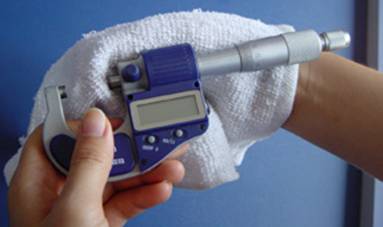
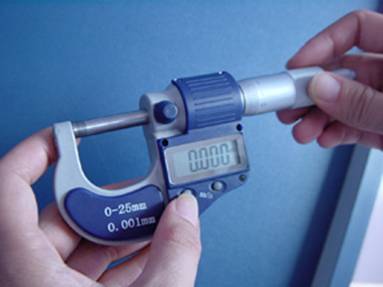
Step1: Carefully open the jaws of the digital outside micrometer by revolving the ratchet.
Step2: Slightly place the item to be measured against the anvil of the digital micrometer. Make sure the micrometer is perpendicular to the surfaces being measured.
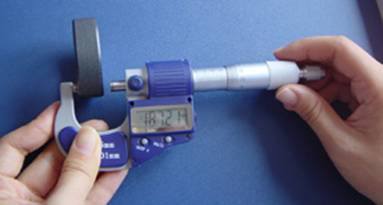
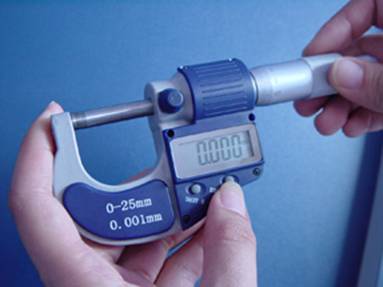
Step3: Rotate the ratchet stop until the spindle contacts the item. Do not clamp the micrometer tightly on to the workpiece. Use only enough pressure on the ratchet stop to allow the item to just fit between the anvil and spindle. Generally speaking, you can revolve the ratchet stop for three circles slightly when the spindle contacts the item.
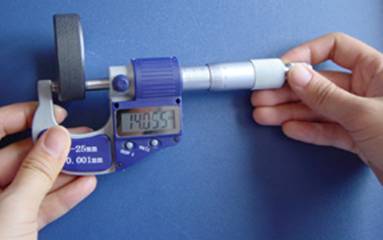
Step4: Lock the lock nut on the digital outside micrometer to make sure that the figures can not change any more.
3. How to read the digital micrometer correctly?
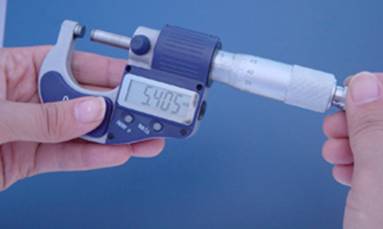
Step1: The digital micrometer can provide high precision reading with the LCD display. So you can get the reading directly from the large LCD display. For example, the reading is 14.054 mm in the picture.
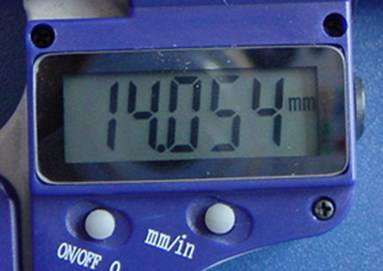
You can also get the reading by reading the marks on the sleeve and the thimble. Usually, we mainly get the reading from the large LCD display for the digital micrometer because the digital reading is more accurate. The reading on the sleeve and the thimble is just for reference.
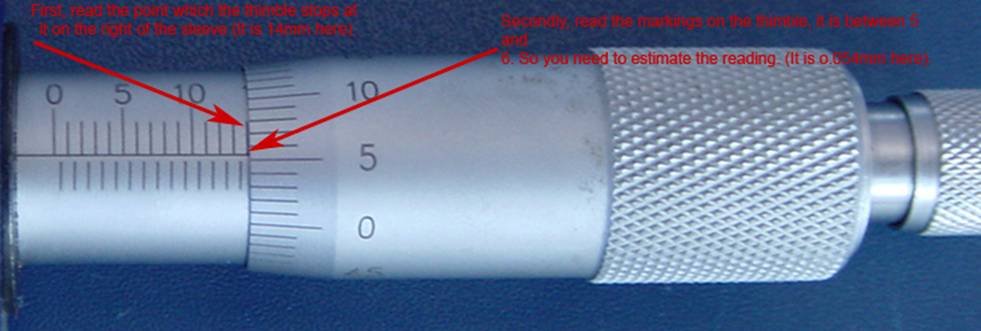
Step2:
Read the markings on the sleeve and the thimble, firstly, read the point which the thimble stops at it on the right of the sleeve (It is 14mm here, because each line above the centre long line represents 1mm while each line below the centre long line represents 0.5mm). Secondly, read the markings on the thimble, it is between 5 and 6. So you need to estimate the reading. (It is 0.054mm for each line here represents 0.001mm). At last, add all the reading up: 14mm + 0.054mm=14.054mm. So the total reading is 14.054mm.
4. Maintenance instructions
1. Kindly remember to switch it off after finishing the measurement to extend the lifetime.
2. Never apply voltage (e.g. engraving with an electric pen) on any part of the digital outside micrometer for fear of damaging the circuit.
3. Clean the measuring surface of the digital micrometer with dry and clean cloth (or soaked with cleaning oil), take the battery out and stock in a dry environment if it stands idle for a long time.
Buy Digital Micrometers at TresnaInstrument.com Now!
