

How to use and read a height gauge correctly?
1.
About Height Gauge
2.
Preparation
3.
Taking the Measurements
4. Caution
5. Note
1. About Height Gauge
A digital height gauge is a high accuracy
measuring device developed specifically for measuring the
difference in height of two points. High specification electronic
height gauges can carry out different measuring tasks including
step heights, internal/external diameters and centre-line
distances. The electronic height gauge is extremely precise up to
0.001in. and claims consistency of ±0.0001in.
The digital height gauge is made from high quality, hardened
stainless steel. It comprises a solid cast iron base which is
robust to ensure rigidity and stability of the instrument; and
extending from the base up is the beam which includes a printed
scale in both imperial and metric format. Usually, imperial
digital scales range from 0 to 12 inches while the metric scale
ranges from 0 mm to 300 mm. They can even measure up to 80 inches
or 2000mm. An electronic measuring slider is mounted on the beam
and it comes with the ABS, ON/OFF/ZERO, MM/INCH, SET,TOL, HOLD,
Power ON/OFF buttons. The slider comes with a carbide scriber tip
on one of the jaws. The slider together with the attached scriber
can slide up and down along the scale and be locked in place. A
fine-tune thumb-wheel is then used to make the final adjustment
and locked in place by a second locking screw. There is also a
data output port where by the data can be sent to a computer or a
printer via a special cable.
To use and read the digital height gauge correctly, follow these general steps below:
Step1: Clean the working platform and put the digital height
gauge on it.
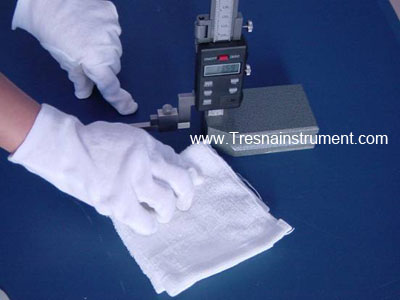
Step 2: Dry the surface of the protective sticker of the digital
height gauge.
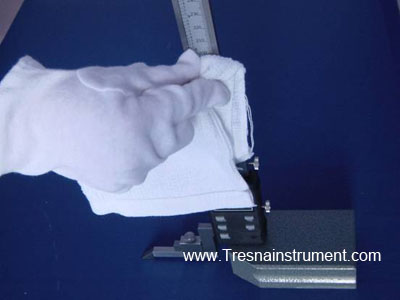
Step3: Fix the measuring jaw of the digital height gauge.
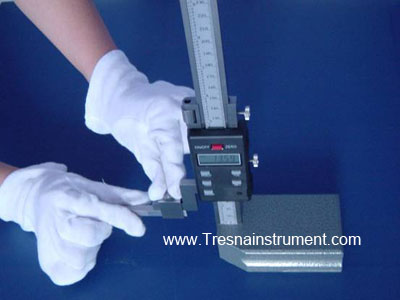
Step 4: Clean the measuring jaw of the height gauge.
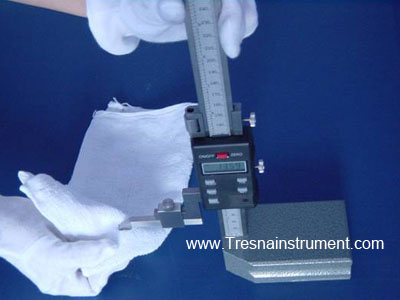
Step 5: Loosen the locking screw of the height gauge.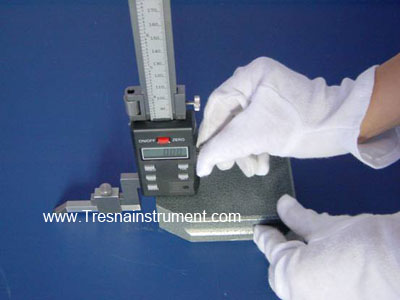
Step 6: Move the slider to check if the LCD displays and all the
buttons work properly.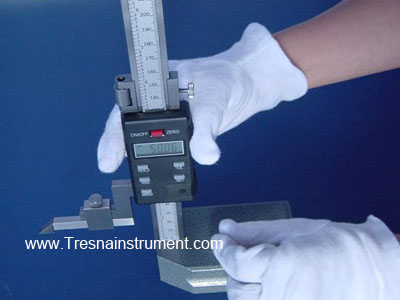
Step 7: Clean the measuring surface of the item being measured
with clean cloth (or soaked with cleaning oil.

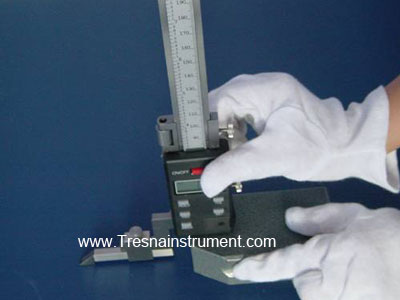
Step1: Usually the point of measurement is the surface of working
the platform. Make the measuring jaw and platform surface gently
touch (measuring force is about 3-5N), the value on the LCD should
be 0, or press ON/OFF/ZERO button to make it 0.
Step2: Hold the rod against the surface plate and adjust the
movable jaw to the nearest centimeter or inch.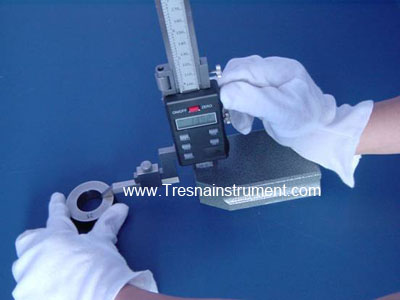
Step3: Get the reading from the large LCD screen directly. As
shown, it is 13.59mm here.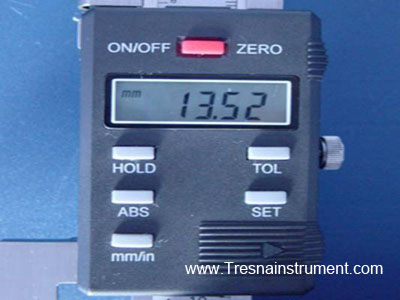
When measuring an object beyond the range of the height gage, lift the base with a block. Then the zero point is the platform surface and the starting point is the surface of the block or object. If the starting point is the block, preset the height of the block (the height should be measured by a more accurate instrument). If the starting point is the surface of the measured object, preset the height of the surface (the height is designed value or actual value, according to actual needs).
1). Take off the jaws after the measurement, dry and clean them
with a clean cloth (or soaked with cleaning oil) and then store in
the fit case.
2). Maintain temperature between 5-40′C both during storage or in
use. The relative humidity is �?0%, and prevent any hydrous liquid
from contacting the protective sticker.
3). Never apply voltage to any part of the depth gauge or engrave
with an electric pen as it might cause damage to the electronics.
4). Preset a starting point of measurement correctly. Do not
press the “ON/OFF/ZERO�? button purposelessly because it may cause
measurement error.
Buy Height Gauges at TresnaInstrument.com Now!
